你的第二個 WebExtension
假如你已經讀過了 你的第一個 WebExtension,你也已經知道該如何寫一個 extension(外掛),在這篇文章中我們將會教你寫一個稍微複雜一點的 extension,來 demo 一些 API 的使用。
在這個 extension 中,將會新增一個按鈕到 Firefox 的工具列上,當使用者按下按鈕後,將會顯示一個彈出視窗 (pop-up) 並可選擇一個動物。當使用者選擇了一個動物後,將會在當前的網頁中顯示使用者所選的動物圖片。
為了實作這個,我們將需要:
-
定義一個 browser action (en-US) 給新增於 Firefox 工具列的按鈕。
這個按鈕,我們將提供以下功能:
- 按鈕的 icon,命名為 "beasts-32.png"
- 當按下按鈕時顯示一個彈出視窗 (pop-up),這個 pop-up 將會包含 HTML, CSS 和 JavaScript。
- 定義一個 extension 用的 icon, 命名為 "beasts-48.png". 此 icon 將會顯示於 Add-ons Manager.
- 寫一個內容腳本 "beastify.js" ,該檔案會被當前網頁讀取。 讓網頁顯示所選的動物圖片的程式碼會寫在這裡。
- 打包所需要的動物圖片,此圖片是用來顯示按下按鈕後顯示於網頁上的。 為了讓網頁可以取用圖片,我們將會讓這些圖片變成可讓 "網頁存取的資源"。
下面是這次 extension 的流程圖:
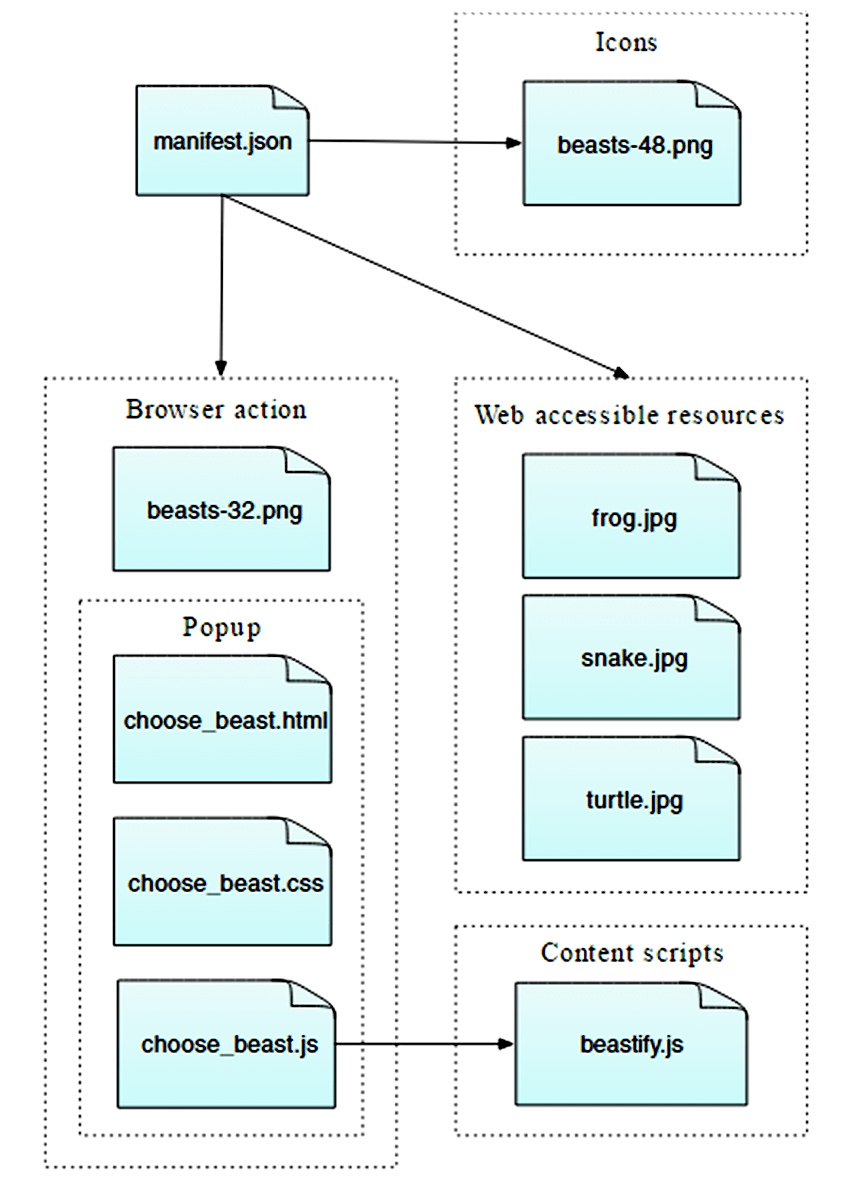
這個一個簡單的 extension,但是會教你許多基本的 WebExtensions API 的概念:
- 新增一個按鈕到工具列
- 利用 HTML, CSS 和 JavaScript 去定義一個 pop-up
- 讀取內容腳本到網頁
- 內容腳本與整個 extension 間的溝通
- 打包 extension 所需的資源,讓網頁可以存取
也可以在 GitHub 上找到範例的原始碼: https://github.com/mdn/webextensions-examples/tree/main/beastify
實作這個 extension 前,請先確認你的 Firefox 有 45.0 或更新的版本。
實作 extension
新增一個資料夾,然後進去:
mkdir beastify
cd beastify
manifest.json
在資料夾 "beastify" 下新增一個檔案,並命名為 "manifest.json",然後撰寫以下程式碼。
{
"manifest_version": 2,
"name": "Beastify",
"version": "1.0",
"description": "Adds a browser action icon to the toolbar. Click the button to choose a beast. The active tab's body content is then replaced with a picture of the chosen beast. See https://developer.mozilla.org/en-US/Add-ons/WebExtensions/Examples#beastify",
"homepage_url": "https://github.com/mdn/webextensions-examples/tree/main/beastify",
"icons": {
"48": "icons/beasts-48.png"
},
"permissions": ["activeTab"],
"browser_action": {
"default_icon": "icons/beasts-32.png",
"default_title": "Beastify",
"default_popup": "popup/choose_beast.html"
},
"web_accessible_resources": [
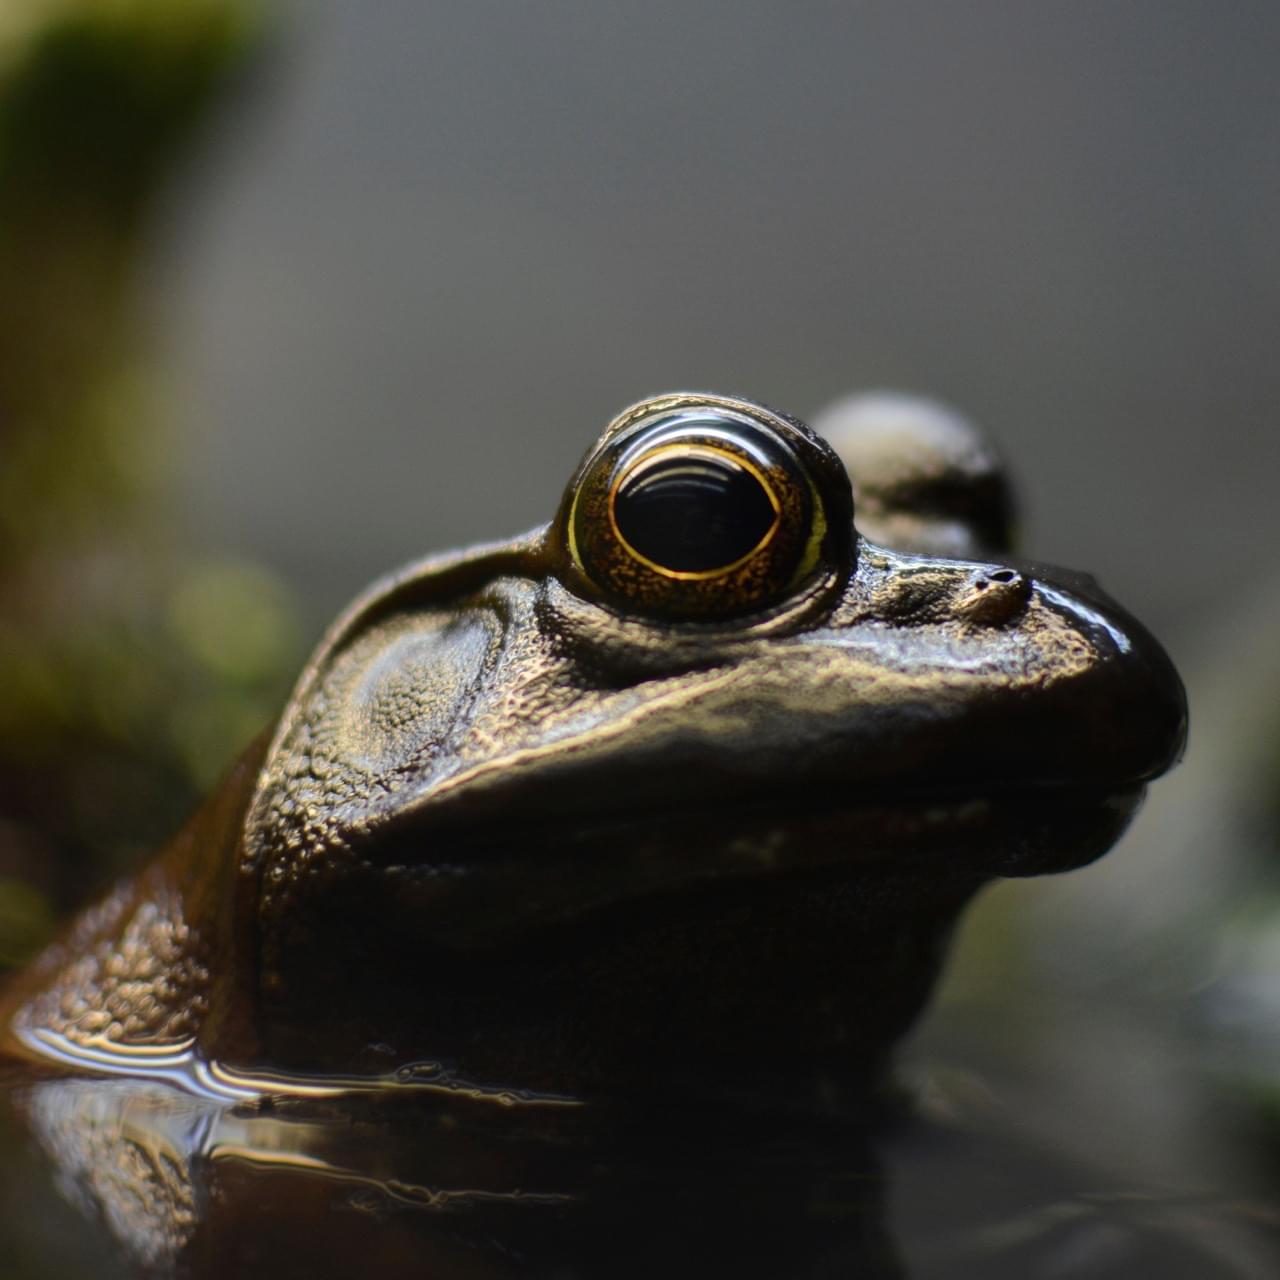
"beasts/frog.jpg",
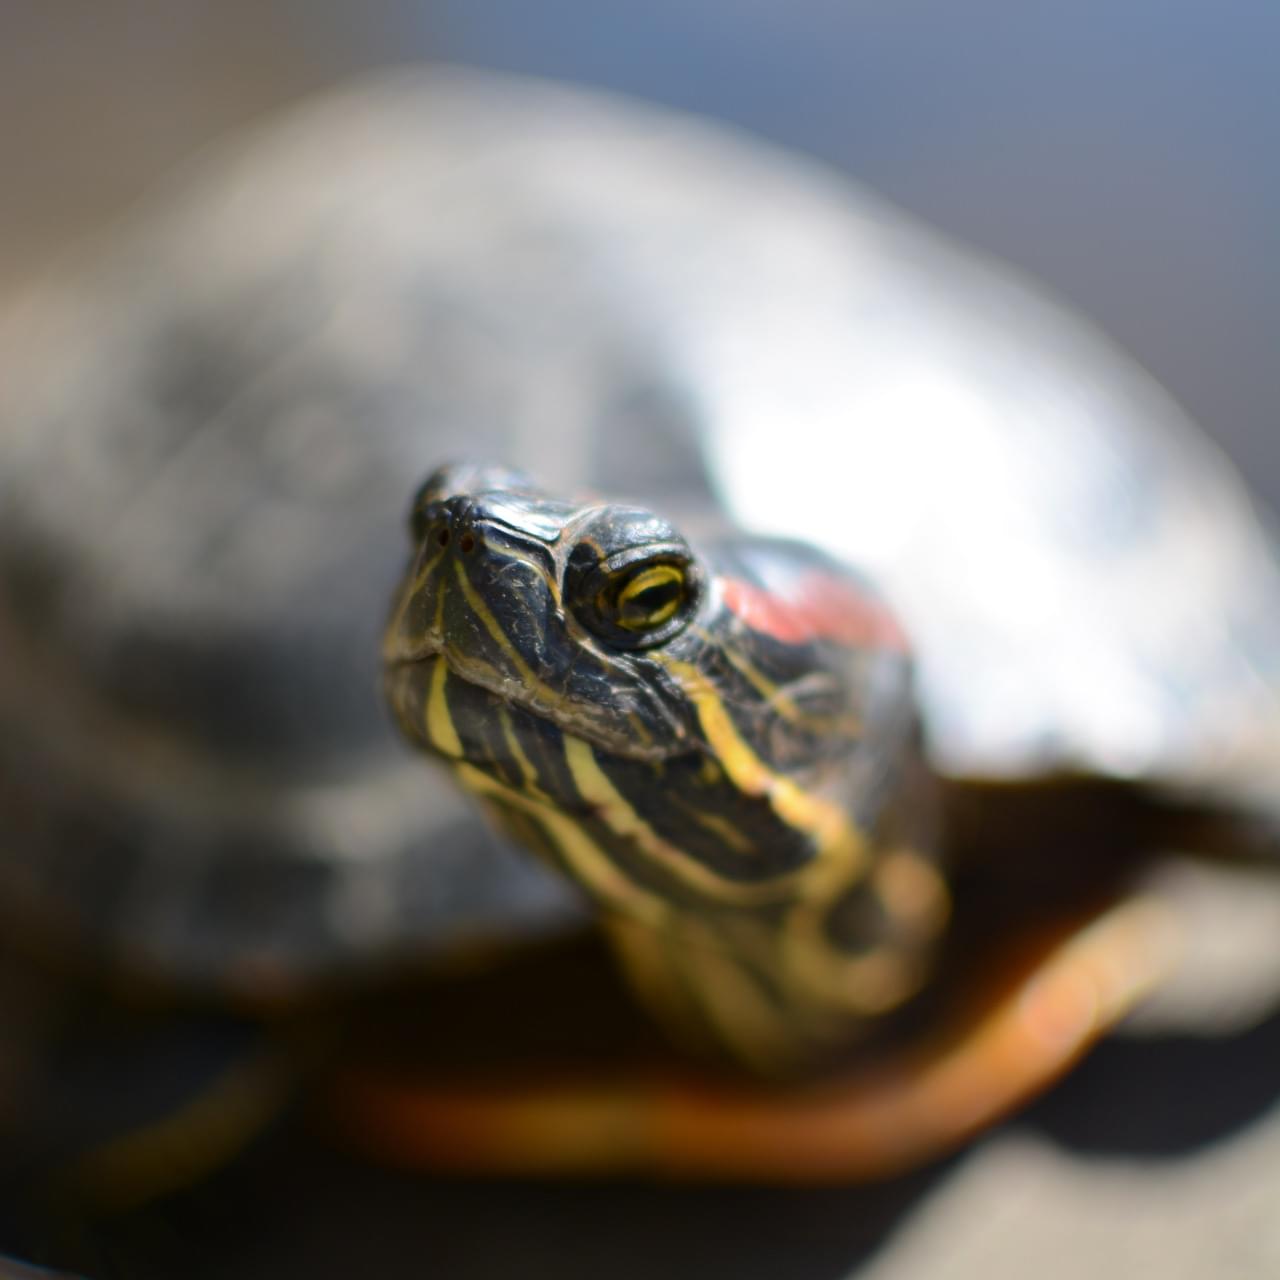
"beasts/turtle.jpg",
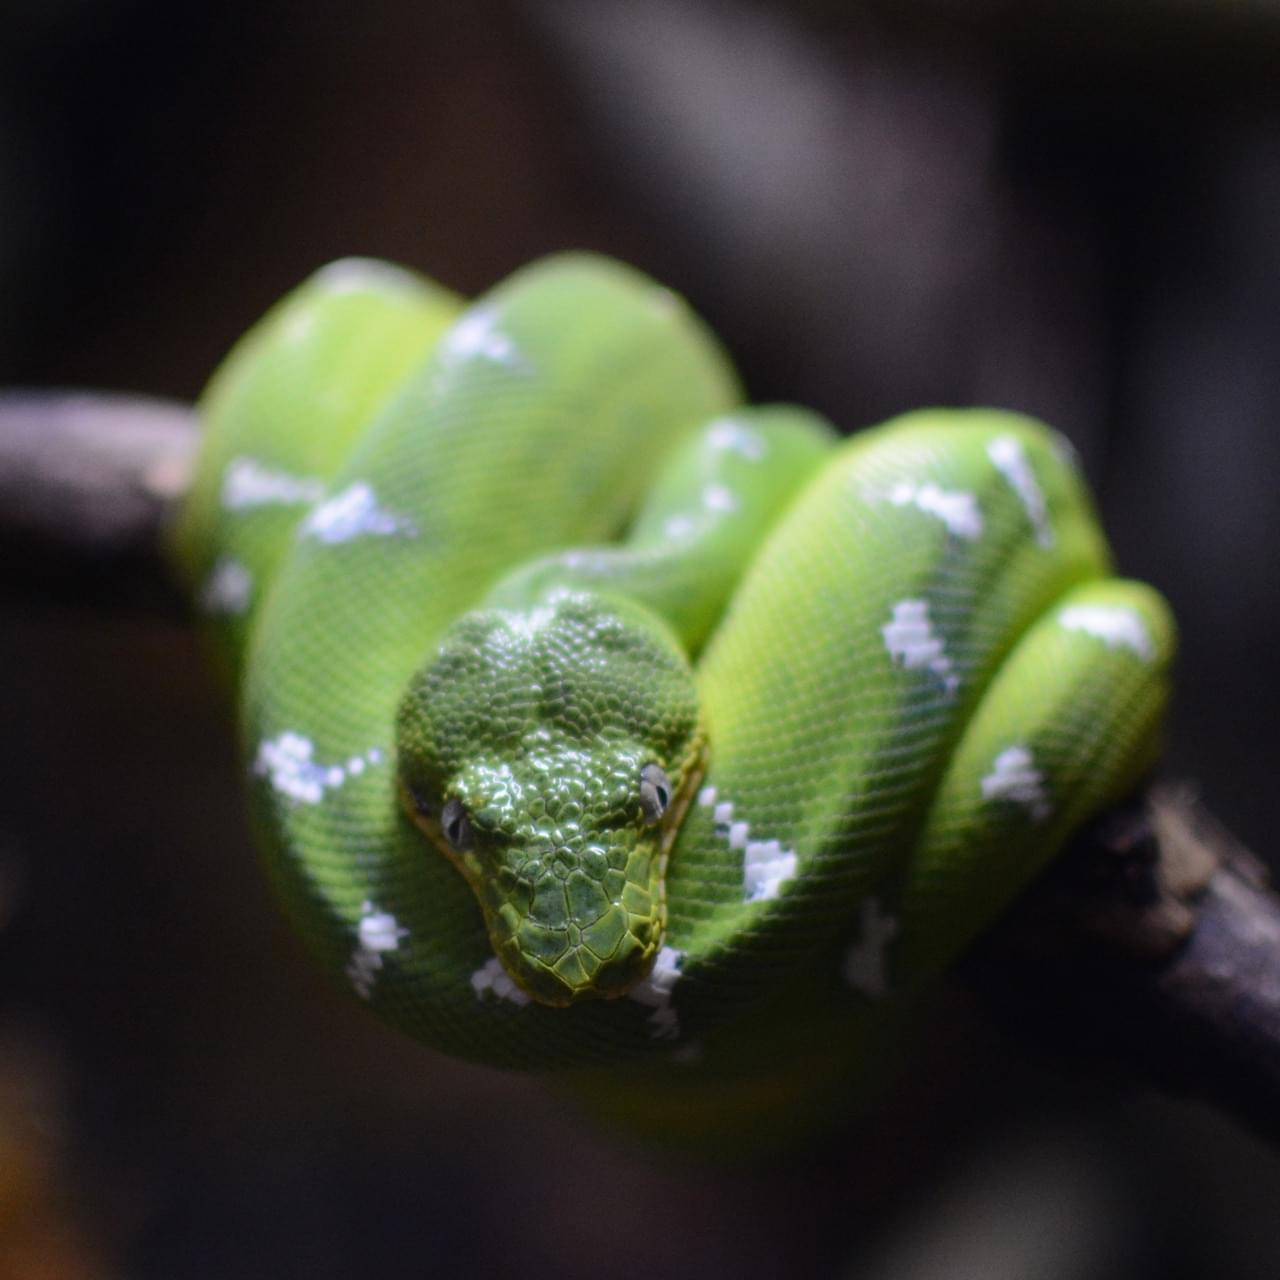
"beasts/snake.jpg"
]
}
- 最前面的三個 key:
manifest_version、name、version必須寫進去,它包含了附加元件的基本詮釋資料(metadata)。 description(en-US) 和homepage_url為非必要但建議加上:主要在說明該 extension。icons(en-US) 為非必要但建議加上:它允許附加元件指定圖示、也會在附加元件的管理員顯示permissions(en-US) 列出了該 extension 所需要的權限。這邊我們只會要求activeTabpermission 。browser_action(en-US) 定義工具列的按鈕,在這邊我們將會提供三種 key:default_icon為必要的:告訴 button 該使用的 icon 為何default_title為非必要的:該 value 會顯示在 button 的 tip 裡default_popup如果想要顯示 pop-up,此為必要的 key:此教學中有使用到 pop-up 故為必要的,並將 HTML 檔案指給他。
web_accessible_resources(en-US) 列出所有希望讓網頁可以存取的檔案。
所有的路徑都會關連到 manifest.json 。
The icon
一個 extension 應該要有一個 icon。icon 將會顯示在 Add-ons Manager 的 extension 列表中。(在 Firefox 網址列輸入 "about:addons" 開啟 Add-ons Manager)。
在 beastify 下建立一個名為 "icons" 的資料夾,並準備一個命名為 "beasts-48.png" 的 icon 並存在 "beastify/icons" 的資料夾中(可以使用我們的範例圖檔,圖檔來源:Aha-Soft's Free Retina iconset,遵照使用條款來使用)。並在 manifest.json 裡告訴他要使用 "icons/beasts-48.png" 路徑下的 icon。
如果你想要使用自己的 icon,icon 大小必須是 48x48 pixels,另外也可使用 96x96 pixel 來支援較高解析度的顯示。
"icons": {
  "48": "icons/beasts-48.png",
  "96": "icons/beasts-96.png"
}
工具列按鈕(The toolbar button)
工具列按鈕也需要一個 icon,在 manifest.json 裡 "browser_action" 物件中的 "default_icon" 中告訴他要使用 "icons/beasts-32.png" 路徑下的 icon。。
準備一個命名為 "beasts-32.png" 的 icon,並存在 "beastify/icons" 資料夾中(你可以使用範例圖檔,圖檔來源:IconBeast Lite icon set,遵守使用條款來使用)。
假設你不使用 pop-up,當按下按鈕的時候就會觸發事件。假如使用 pop-up ,當按下按鈕時並不會觸發事件,取而代之會打開 pop-up。不過這邊我們想要用 pop-up,所以接來下會教你如何新增他。
The popup
pop-up 的方法主要是讓使用者可以選擇三個動物中的其中一個。
在 beastify 下 新增一個名為 "popup" 的資料夾,該資料夾中會包含以下三個檔案:
choose_beast.html定義 pop-up 的顯示的內容文字choose_beast.css定義 html 裡的 styleschoose_beast.js當使用者選擇動物後實行的腳本內容
mkdir popup
cd popup
touch choose_beast.html choose_beast.css choose_beast.js
choose_beast.html
HTML 內容長得像這樣:
<!doctype html>

<html>
  <head>
    <meta charset="utf-8" />
    <link rel="stylesheet" href="choose_beast.css" />
  </head>

  <body>
    <div id="popup-content">
      <div class="button beast">Frog</div>
      <div class="button beast">Turtle</div>
      <div class="button beast">Snake</div>
      <div class="button reset">Reset</div>
    </div>
    <div id="error-content" class="hidden">
      <p>Can't beastify this web page.</p>
      <p>Try a different page.</p>
    </div>
    <script src="choose_beast.js"></script>
  </body>
</html>
我們在 ID 為 "popup-content" 的 <div> 元件裡建立了一個包含每種動物選項的元件。當載入 popup 發生問題時,用另外一個 ID 為 "error-content" 且類別定義為 "hidden" 的 <div> 元件來處理。
值得注意的是我們在這個檔案裡引用了 CSS 與 JS 檔案,就如同一般網頁。
choose_beast.css
CSS 定義了 pop-up 的大小,並確保三個選項有填滿整個 pop-up,並給他們幾個基本的 style:
html,
body {
  width: 100px;
}

.button {
  margin: 3% auto;
  padding: 4px;
  text-align: center;
  font-size: 1.5em;
  cursor: pointer;
}

.beast:hover {
  background-color: #cff2f2;
}

.beast {
  background-color: #e5f2f2;
}

.clear {
  background-color: #fbfbc9;
}

.clear:hover {
  background-color: #eaeac9;
}
choose_beast.js
在 pop-up 的 JavaScript 中,我們監控著 click 事件。當按下其中一個選項後,將會讀取 js 檔到當前的瀏覽器分頁(active_tab)中,當內容腳本被讀取後,將會發送一個訊息告訴他該選擇哪一張圖片。
/*
Given the name of a beast, get the URL to the corresponding image.
*/
function beastNameToURL(beastName) {
  switch (beastName) {
    case "Frog":
      return browser.extension.getURL("beasts/frog.jpg");
    case "Snake":
      return browser.extension.getURL("beasts/snake.jpg");
    case "Turtle":
      return browser.extension.getURL("beasts/turtle.jpg");
  }
}

/*
Listen for clicks in the popup.

If the click is on one of the beasts:
  Inject the "beastify.js" content script in the active tab.

  Then get the active tab and send "beastify.js" a message
  containing the URL to the chosen beast's image.

If it's on a button which contains class "clear":
  Reload the page.
  Close the popup. This is needed, as the content script malfunctions after page reloads.
*/

document.addEventListener("click", (e) => {
  if (e.target.classList.contains("beast")) {
    var chosenBeast = e.target.textContent;
    var chosenBeastURL = beastNameToURL(chosenBeast);

    browser.tabs.executeScript(null, {
      file: "/content_scripts/beastify.js",
    });

    var gettingActiveTab = browser.tabs.query({
      active: true,
      currentWindow: true,
    });
    gettingActiveTab.then((tabs) => {
      browser.tabs.sendMessage(tabs[0].id, { beastURL: chosenBeastURL });
    });
  } else if (e.target.classList.contains("clear")) {
    browser.tabs.reload();
    window.close();
  }
});
這邊使用了三個 WebExtensions API 的方法:
browser.tabs.executeScript(en-US) 讀取內容腳本 "content_scripts/beastify.js" 到當前的瀏覽器分頁裡面browser.tabs.query(en-US) 取得當前的瀏覽器分頁browser.tabs.sendMessage(en-US) 送訊息到當前的瀏覽器分頁中正在執行的內容腳本裡(beastify.js)。訊息包含了所選的動物的 URL
內容腳本(The content script)
在 beastify 下建立一個名為 "content_scripts" 的資料夾,並新增一個命名為 "beastify.js" 的檔案,檔案裡的內容:
/*
beastify():
* removes every node in the document.body,
* then inserts the chosen beast
* then removes itself as a listener
*/
function beastify(request, sender, sendResponse) {
  removeEverything();
  insertBeast(request.beastURL);
  browser.runtime.onMessage.removeListener(beastify);
}

/*
Remove every node under document.body
*/
function removeEverything() {
  while (document.body.firstChild) {
    document.body.firstChild.remove();
  }
}

/*
Given a URL to a beast image, create and style an IMG node pointing to
that image, then insert the node into the document.
*/
function insertBeast(beastURL) {
  var beastImage = document.createElement("img");
  beastImage.setAttribute("src", beastURL);
  beastImage.setAttribute("style", "width: 100vw");
  beastImage.setAttribute("style", "height: 100vh");
  document.body.appendChild(beastImage);
}

/*
Assign beastify() as a listener for messages from the extension.
*/
browser.runtime.onMessage.addListener(beastify);
內容腳本中新增了一個 listener ,使其從 extension 可傳送訊息。(具體來說是從 "choose_beast.js" 這邊) ,在 listener 中做了:
- removeEverything():移除
document.body中所有的 element () - insertBeast(beastURL):新增一個
<img>element 並告訴它圖片的 URL,並插入到文件中 - removeListener(beastify):刪除訊息 listener
The beasts
Testing it out
首先,請再三的確認檔案有放到相對應的資料夾中:
beastify/

    beasts/
        frog.jpg
        snake.jpg
        turtle.jpg

    content_scripts/
        beastify.js

    icons/
        beasts-32.png
        beasts-48.png

    popup/
        choose_beast.css
        choose_beast.html
        choose_beast.js

    manifest.json
開啟 Firefox 45.0,並安裝本地的 extensive 到瀏覽器裡。
在 Firefox 網址列輸入 "about:debugging" ,點選 "Load Temporary Add-on",然後選擇你的 "manifest.json" 檔案。然後應該就會看到 extensive 的 icon 出現在工具列上了:
打開一個網頁,點選 icon,選擇一個動物的名字,將會看到網頁內容被動物的圖片取代了:
透過命令行佈署
你可以利用web-ext自動化暫時載入。 試試看:
cd beastify
web-ext run